The Blue Mountain and Georgian Bay region is one of the most photogenic areas in Ontario, offering dramatic landscapes that shift completely with the seasons. From the turquoise waters of Georgian Bay in summer to the blazing canopy of fall foliage, from frost-covered escarpment cliffs in winter to the wildflower-dotted trails of spring, there is no wrong time to bring your camera.
This location-by-location guide covers the best photography spots in the region, with specific tips on timing, composition, and camera settings for every scenario. Whether you shoot with a professional DSLR or your smartphone, these locations will deliver stunning images.
Sunrise Spots
Georgian Bay Shoreline — Craigleith Provincial Park
The eastern-facing Georgian Bay shoreline at Craigleith Provincial Park is the best sunrise location in the area. The sun rises directly over the bay, casting golden light across the rocky shore and calm water. The flat limestone formations along the beach create excellent foreground interest, and on still mornings, the water acts as a mirror.
Best time: Arrive 30 minutes before sunrise. In summer, this means 5:30 AM; in fall and winter, a more reasonable 7:00–7:30 AM.
Camera settings: Aperture priority mode. f/11 for deep depth of field. ISO 100–200. Use a tripod and expose for the sky to preserve the rich colours — you can recover shadow detail in post-processing. If you are shooting handheld, increase ISO to 400–800 and use the widest angle your lens allows.
Composition tips: Get low to the ground and use the flat rocks as leading lines toward the horizon. Include some foreground texture for depth. If clouds are present, they will light up in orange and pink hues that change rapidly — shoot continuously for 15 minutes around sunrise to capture the peak colour.
Blue Mountain Summit via Early Gondola
The Blue Mountain gondola operates in summer and fall (check seasonal schedules), and an early ride up offers panoramic views facing east over Georgian Bay. The summit provides an elevated vantage point that is ideal for sweeping landscape shots.
Camera settings: f/8 to f/11. ISO 100. Wide-angle lens (16–35mm equivalent). A polarizing filter will cut haze and deepen the sky colour.
Golden Hour Compositions
The Three Giant Muskoka Chairs at the Summit
These oversized Muskoka chairs at the Blue Mountain summit are one of the most iconic photo opportunities in the area. Placing a person in the chair provides a powerful sense of scale against the Georgian Bay backdrop. The golden hour light (the last hour before sunset) bathes the entire scene in warm tones.
Camera settings: f/4 to f/5.6 for a slightly blurred background that keeps the focus on your subject. ISO 200. Shutter speed 1/250 or faster if your subject is moving. Expose for the subject's face and let the sky blow out slightly — or use fill flash to balance ambient light with the bright background.
Composition tip: Shoot from slightly below the chair looking up. This emphasizes the scale and places the sky behind your subject.
Summitview Pavilion Sunset
The Summitview Pavilion offers 180-degree views to the west and south, making it a premier sunset location. On clear evenings, the sky puts on a show that can last 30 minutes or more.
Camera settings: Manual mode. f/11. ISO 100. Bracket your exposures (take three shots at different exposures) to merge into an HDR image later if the dynamic range is extreme. A graduated neutral density filter is useful for balancing a bright sky against a darker landscape.
Nature and Landscape Shots
Scenic Caves Suspension Bridge
The 420-foot suspension bridge at Scenic Caves sits 25 metres above the forest floor, creating dramatic perspective opportunities. Shoot from one end of the bridge using the cables as leading lines. Including a person walking across provides powerful sense of scale.
Camera settings: f/8. ISO 200. Shutter speed 1/500 or faster to freeze any motion from bridge sway. Wide-angle lens for the full bridge span, or zoom to 50–85mm for a compressed perspective showing just the person and the cables converging into the distance.
Cascade Trail — Rainbow Bridge
The Rainbow Bridge on the Cascade Trail is a small but photogenic pedestrian bridge. In spring and early summer, water flow is strongest and the surrounding greenery is at its peak. The arch of the bridge frames the creek below perfectly.
Camera settings: For silky water effect: f/16, ISO 100, shutter speed 1/4 to 2 seconds (requires tripod). For frozen water droplets: f/8, ISO 400, shutter speed 1/1000.
Bruce Trail Waterfalls
The Bruce Trail sections near Blue Mountain feature several waterfalls that are most impressive after spring snowmelt (late March to early May) or after heavy rain. The cascades through the Niagara Escarpment dolostone create layered compositions.
Camera settings: Tripod essential. f/16. ISO 100. Shutter speed 0.5–4 seconds for the smooth, milky water look. Use a neutral density filter in bright conditions to achieve slow shutter speeds. Overcast days are actually ideal — they eliminate harsh shadows and allow even exposure across the scene.
Pretty River Valley Lookout
This Bruce Trail lookout provides a sweeping view over the Pretty River Valley. In fall, the colours are extraordinary. Early morning fog often fills the valley, creating a layered effect with ridgelines emerging above the mist.
Camera settings: f/11. ISO 100. Telephoto lens (70–200mm) to compress the layers of ridgelines and mist. Wide-angle to capture the full panorama. Shoot both.
Water Photography
Georgian Bay Rocky Coastline — Craigleith
Beyond sunrise, the Craigleith shoreline is worth visiting at any time. The unique flat limestone formations, clear turquoise water, and Georgian Bay's characteristic rocky beaches create images that look like they were taken in the Caribbean or along the Mediterranean.
Camera settings: Polarizing filter is essential to cut surface reflections and reveal the turquoise water colour. f/8 to f/11. ISO 100–200. Mid-morning light (9:00–11:00 AM) provides the best water colour rendition.
Nottawasaga Lighthouse from Shore
The historic Nottawasaga Lighthouse sits offshore in Collingwood harbour. While you cannot visit the lighthouse itself, photographing it from shore with a telephoto lens creates a classic maritime composition, especially at sunset when the lighthouse silhouettes against the sky.
Camera settings: 200mm+ telephoto. f/8. ISO 200–400. Expose for the sky to silhouette the lighthouse, or expose for the lighthouse and let the sky blow out for a bright, airy feel.
Thornbury Harbour at Sunset
The harbour at Thornbury provides boats, dock pilings, and reflections that photograph beautifully at sunset. The fishing boats and the Beaver River mouth add character to the scene.
Camera settings: f/8. ISO 100. Tripod for longer exposures that smooth the water surface. Golden hour light is magical here.
Fall Foliage
Scenic Caves Surrounded by Colour
Late September to mid-October transforms the Scenic Caves property into a kaleidoscope of red, orange, and gold. The suspension bridge and treetop canopy walk put you at eye level with the colour. Looking down from the bridge into the forest below creates unique overhead perspectives on the canopy.
Camera settings: Overcast days are your friend for fall foliage — the even light saturates the colours without creating harsh highlights. f/8. ISO 200. A slight underexposure (exposure compensation -0.3 to -0.7) deepens colour saturation. Use a polarizing filter to remove glare from leaves and deepen colours.
Fall Colour Drives
County Road 91 from Collingwood towards Creemore winds through rolling farmland with stunning maple-lined corridors. Stop frequently at pull-offs for compositions that include farmhouses, fences, and country roads disappearing into tunnels of colour.
Gondola Above the Canopy
A gondola ride during peak fall colour puts you above the tree canopy, offering an aerial perspective on the colour that is difficult to achieve otherwise. Shoot through the gondola window (press the lens against the glass to reduce reflections) or from the summit looking down over the blanketed escarpment.
Winter Photography
Frost and Ice Formations
Winter mornings produce frost formations on tree branches that are genuinely spectacular, particularly along the escarpment where moisture-laden air from Georgian Bay meets the cold. The hoar frost crystals on branches create intricate natural patterns.
Camera settings: Macro lens or close-up mode. f/4 to f/5.6 for shallow depth of field that isolates individual crystals. ISO 200. Expose carefully — snow and frost trick your camera's meter into underexposing. Use exposure compensation +1.0 to +1.7 to keep whites white.
Night Skiing Light Trails
Long-exposure photography of skiers on lit trails creates dramatic light trail images showing the paths of movement down the mountain.
Camera settings: Tripod essential. f/8. ISO 100–200. Shutter speed 10–30 seconds. The moving skiers create streaks of light while the stationary elements (trees, chairlift towers) remain sharp. Shoot from the base area looking up at the lit trails. The blue twilight period (20–40 minutes after sunset) provides the best sky colour as a backdrop.
Georgian Bay Ice Formations
In late January through March, Georgian Bay's shoreline develops extraordinary ice formations — shelf ice, ice balls, ice caves, and frozen spray patterns on rocks. Craigleith and the Collingwood harbour are the most accessible spots.
Camera settings: Wide-angle for ice-shelf landscapes. Macro for close-up crystal detail. Overexpose slightly for bright ice. Wear waterproof boots — you will be walking on wet, icy surfaces.
Night Sky Photography
Best Dark Sky Locations
The areas south of Collingwood towards Duntroon and the Nottawasaga Valley offer the darkest skies nearby. Light pollution from Collingwood and the Blue Mountain Village affects locations directly to the north, so heading south or west by 10–15 minutes significantly improves visibility.
Camera settings: Manual focus set to infinity (use live view to focus on a bright star). f/2.8 or wider. ISO 3200–6400. Shutter speed: use the 500 Rule — divide 500 by your focal length to get the maximum exposure time before stars trail (for example, 500 divided by 24mm equals approximately 20 seconds). Shoot in RAW format for maximum flexibility in post-processing.
Meteor shower dates for 2026: Lyrids (April 21–22), Perseids (August 11–13, the year's best), Orionids (October 20–21), Geminids (December 13–14).
Recommended Gear
- Wide-angle lens (16–35mm or equivalent) — Landscapes, starscapes, interiors
- Mid-range zoom (24–70mm) — The most versatile lens; handles most scenarios
- Telephoto (70–200mm) — Lighthouse, compressed landscapes, wildlife
- Tripod — Essential for sunrise, waterfalls, long exposure, and night sky
- Polarizing filter — Cuts reflections, deepens sky and water colour, saturates foliage
- Neutral density filter — Enables slow shutter speeds for waterfalls in daylight
- Extra batteries — Cold weather drains batteries rapidly; keep spares in an inside pocket close to your body
Phone Photography Tips
If you are shooting with a smartphone:
- Clean your lens — Fingerprints destroy sharpness and add unwanted flare. Wipe the lens before every session.
- Use HDR mode — Modern phones handle high dynamic range well. Enable it for sunrise, sunset, and backlit scenes.
- Lock exposure and focus — Tap and hold on your subject to lock focus, then slide the exposure slider down slightly for richer colours in landscape shots.
- Shoot in portrait mode for people — The computational blur effectively simulates a wide-aperture look.
- Use a phone tripod — Small, inexpensive phone tripods enable long exposures using apps like Slow Shutter Cam or ProCamera.
- Edit thoughtfully — Lightroom Mobile (free) offers powerful editing. Increase clarity slightly, boost vibrance (not saturation), and straighten your horizon.
Book Your Photography Weekend
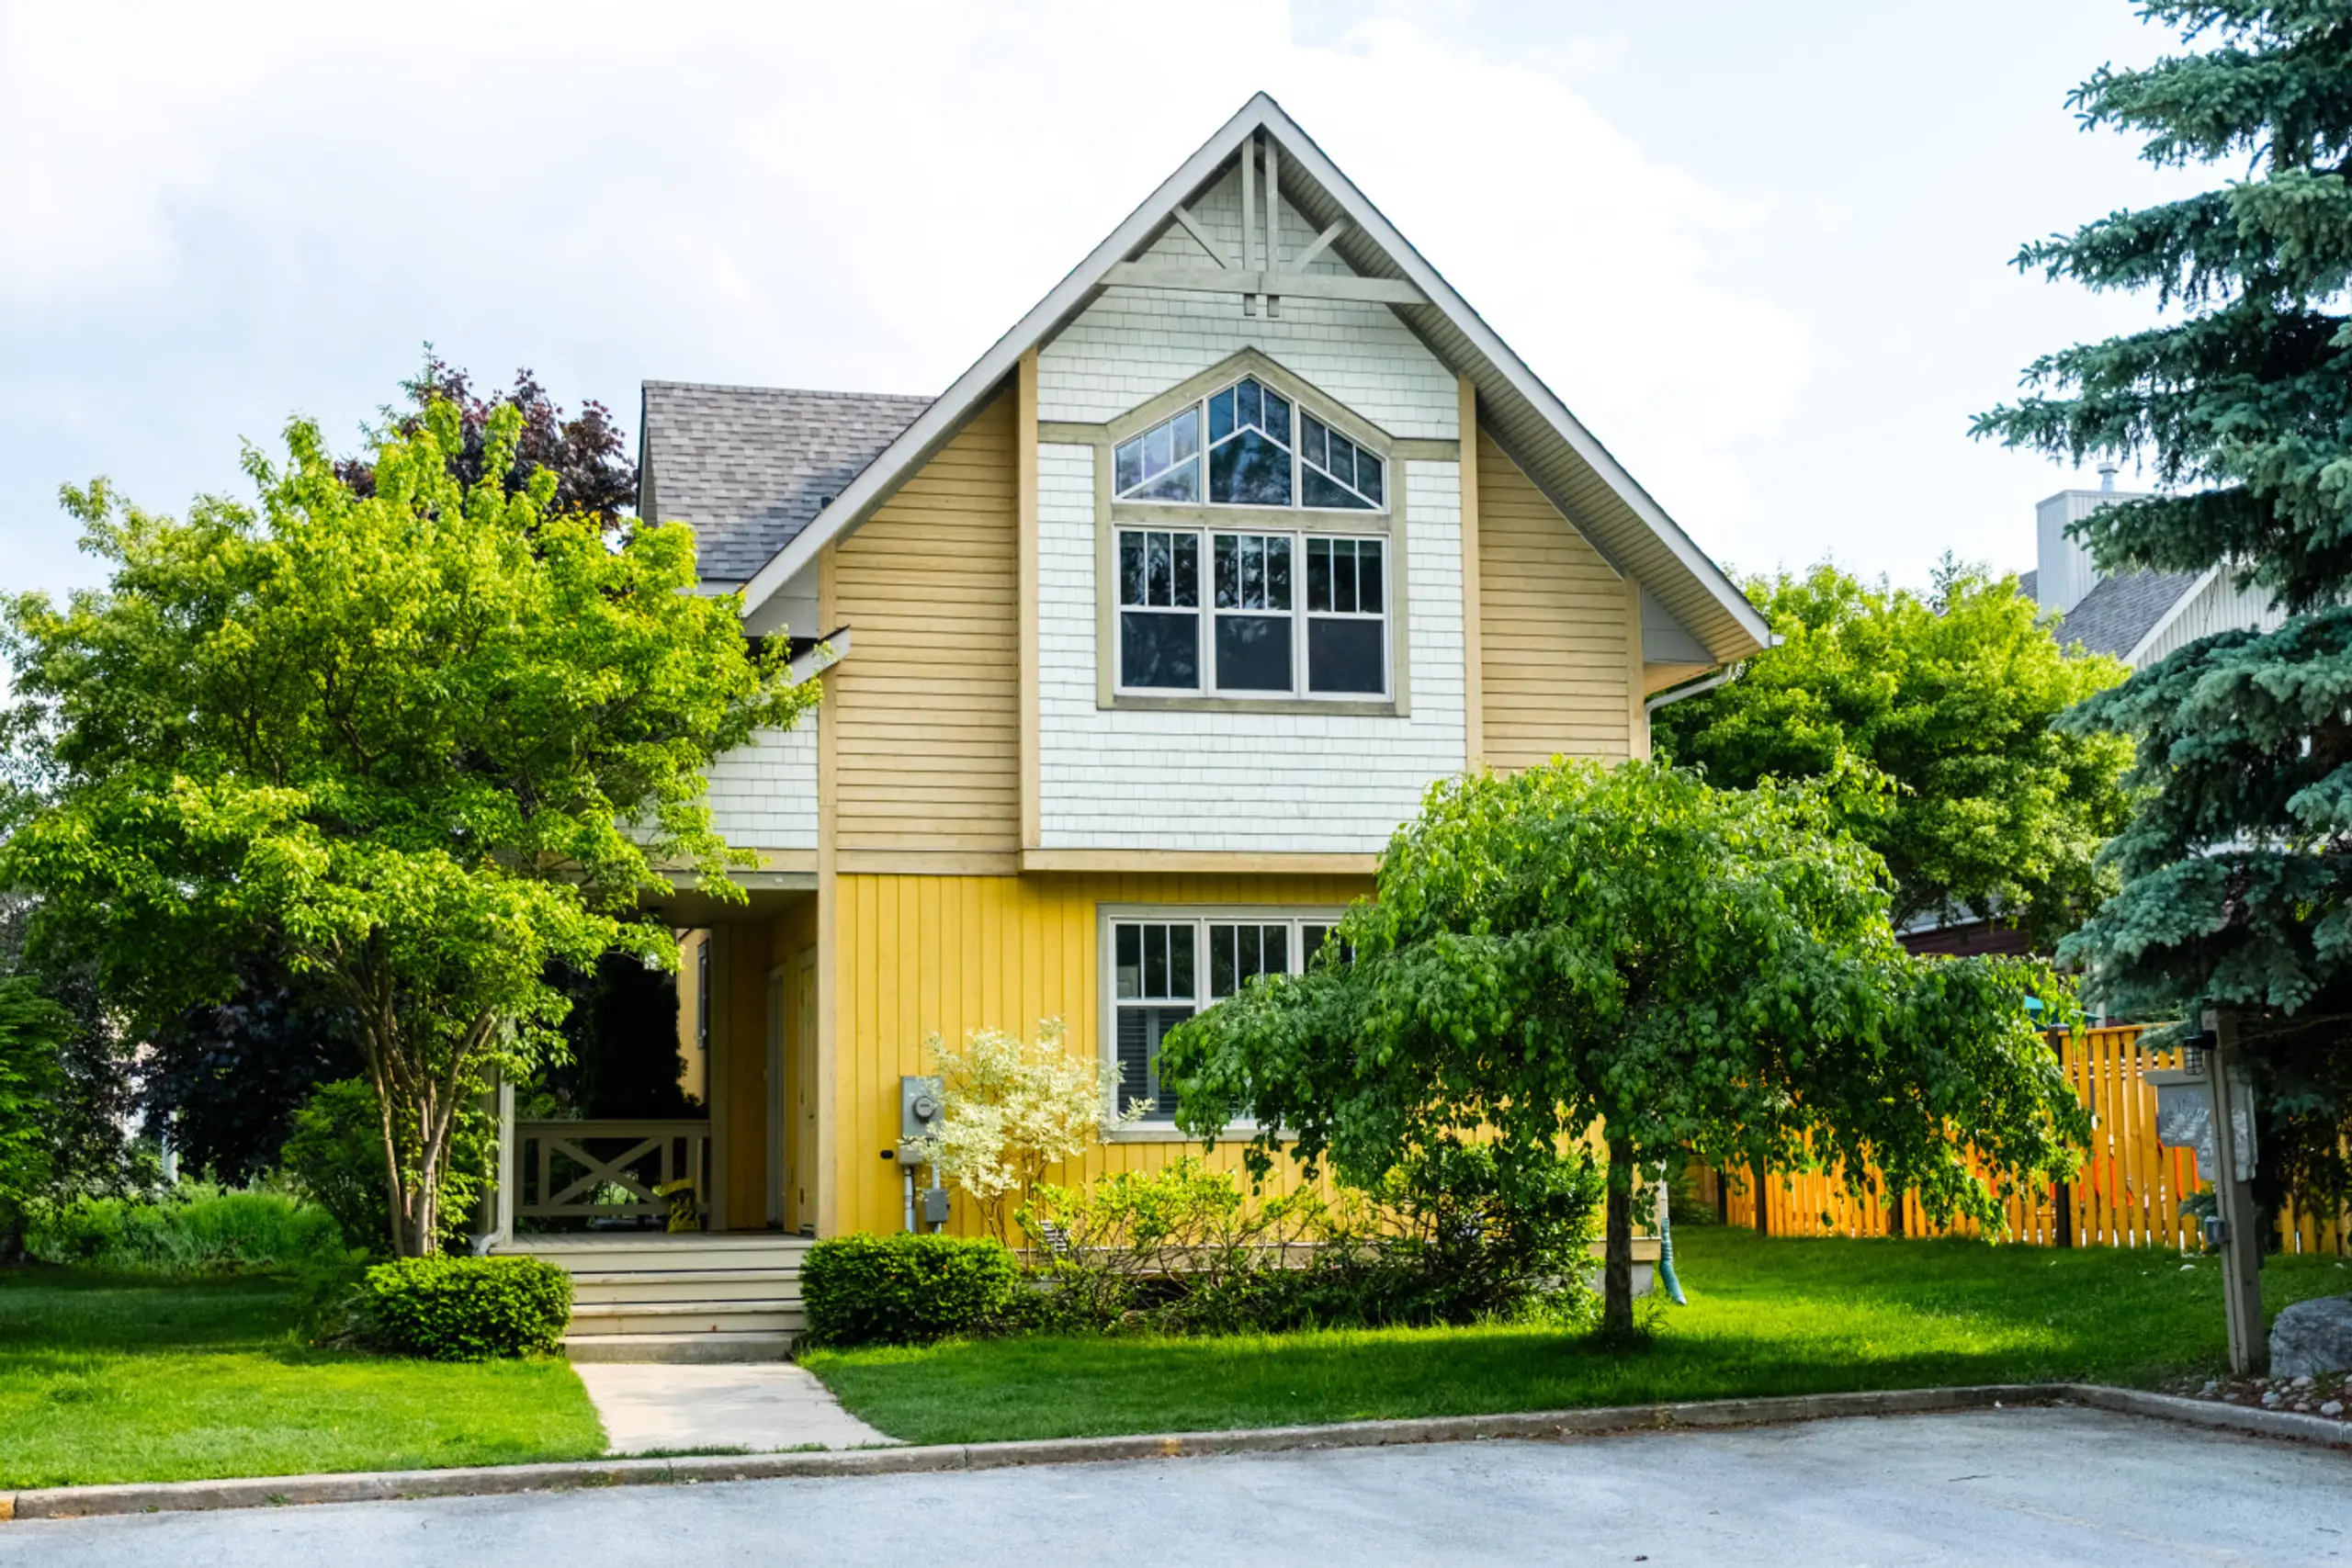
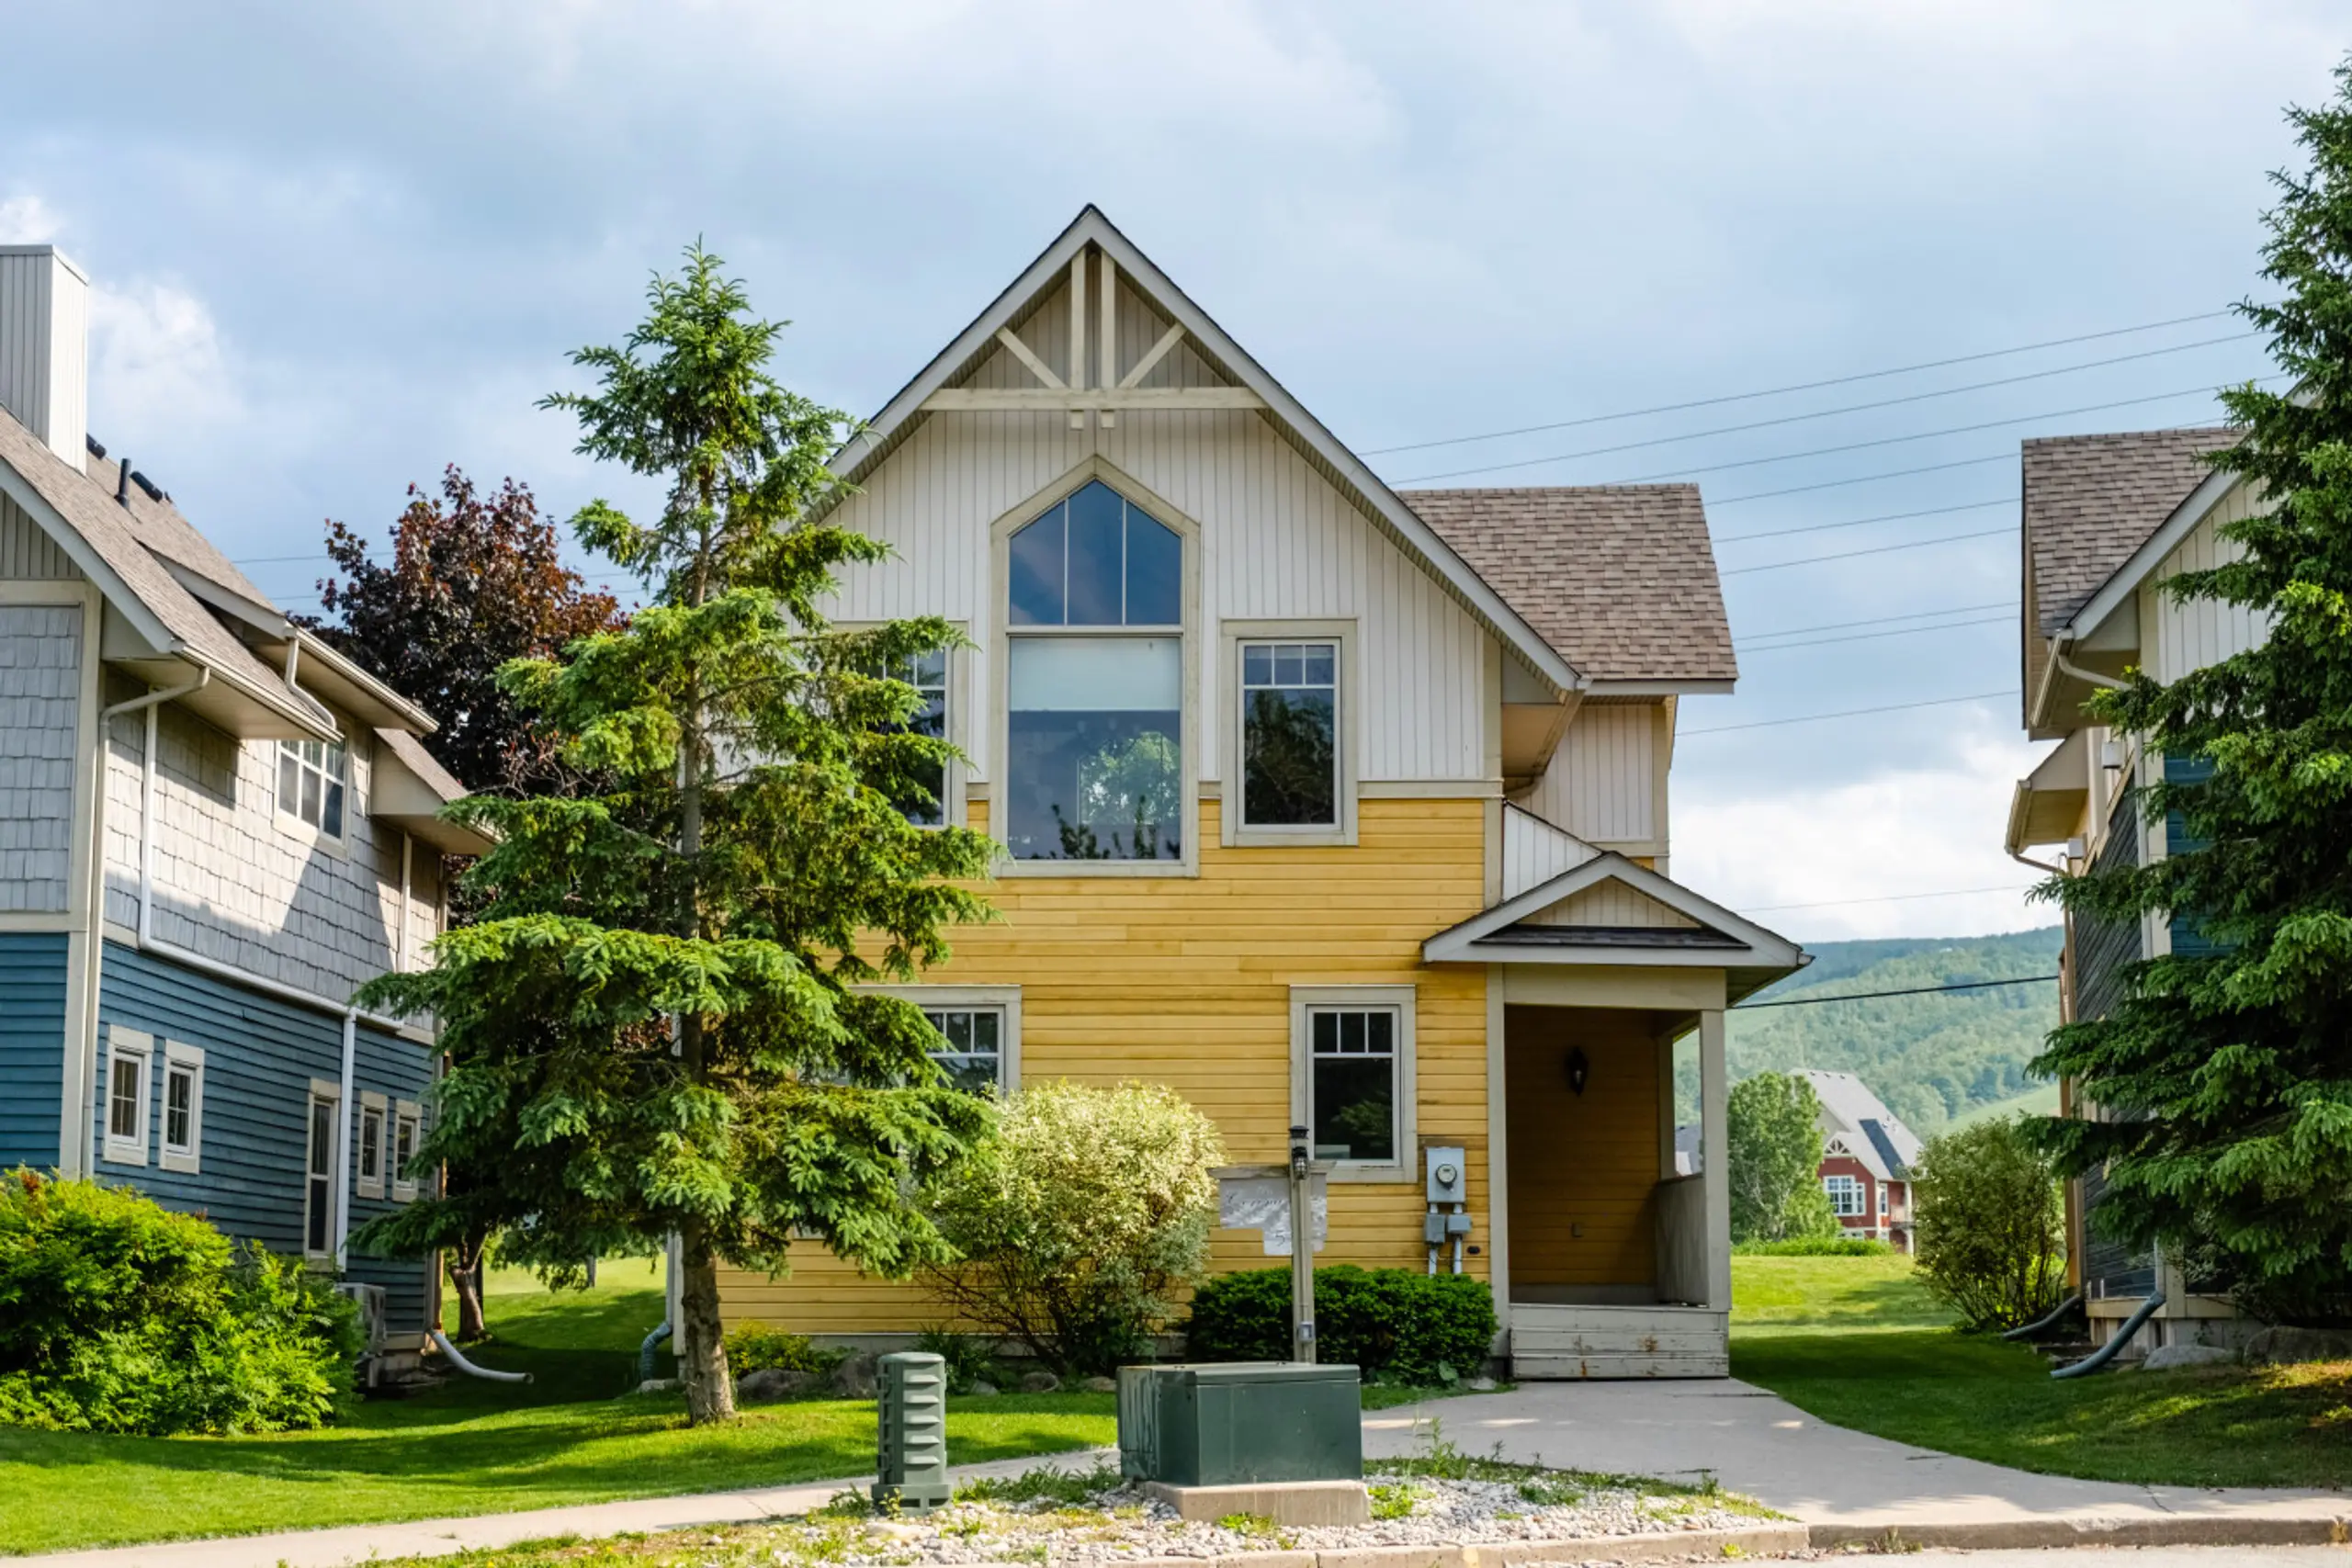
Blue View Chalets properties offer beautiful subjects in their own right — snow-covered A-frames, glowing interiors at twilight, hot tub steam rising into cold night air. Our chalets are centrally located near every photography location in this guide, and our spacious interiors provide the perfect space to review and edit your shots after a day in the field.
Find your ideal base camp at [booking.blueviewchalets.com](https://booking.blueviewchalets.com/).
Or call us at (416) 203-2057